CCCreaticast LabThe Feed · Setup
Setting Up Alerts and Scenes in OBS Without the Headache
OBS Studio is powerful and, on first open, a little intimidating. Panels everywhere, no obvious "start here." The good news: you only need to understand two ideas — scenes and sources — and the rest falls into place. Let's make it painless.
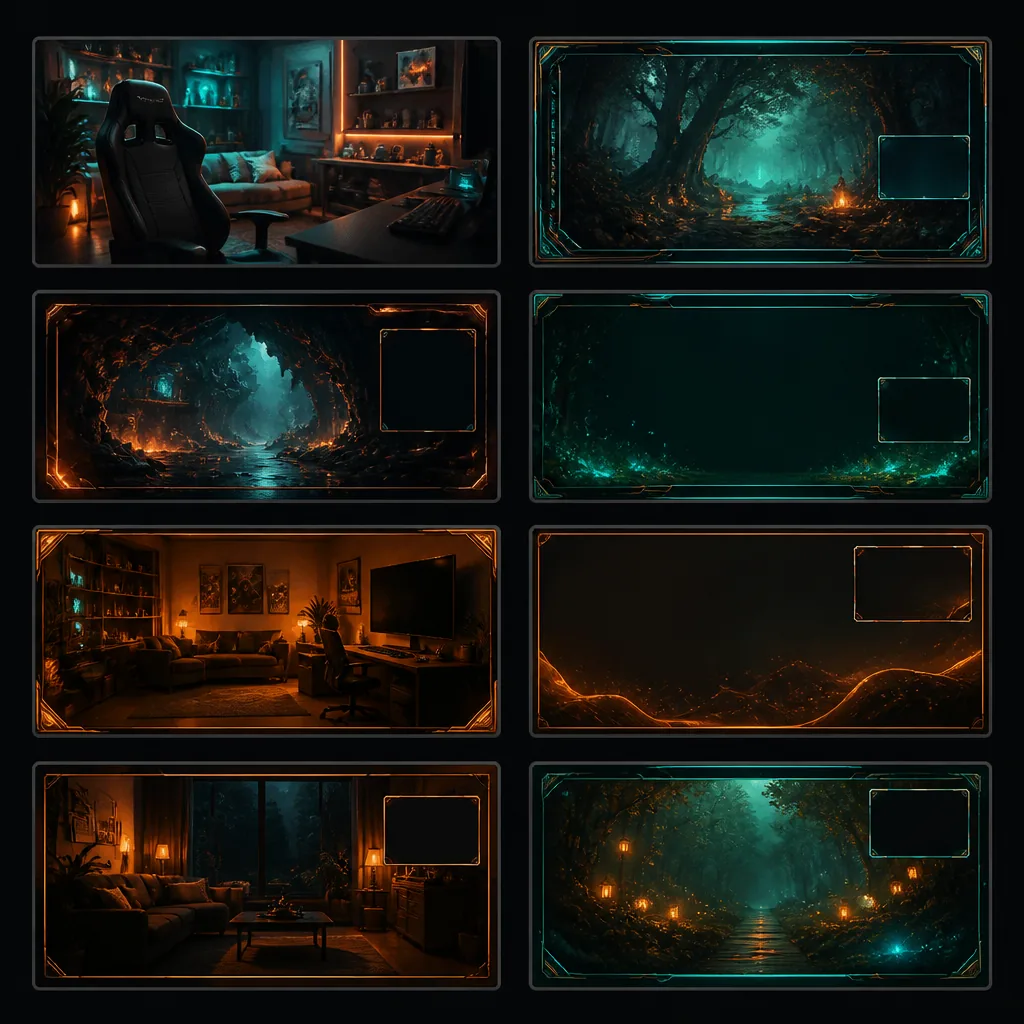
Scenes and sources, in one minute
A source is a single thing OBS can show: your webcam, your game capture, an image, a bit of text. A scene is a saved arrangement of sources. "Full-cam" might be your webcam big in the middle. "Gameplay" might be the game full-screen with your webcam tucked in a corner. Switching scenes is just clicking between those saved layouts — that's the whole trick behind streams that feel produced.
Most new streamers need four scenes and no more: Starting Soon, Gameplay + Cam, Just Chatting (bigger cam, no game), and Be Right Back / Stream Over. Build those and you can run a full broadcast.
The fastest way in: import a scene collection
Here's the shortcut almost nobody tells beginners about. OBS can export and import an entire scene collection as a single file. Instead of building every scene by hand, you can import a ready-made collection and get all four scenes with their boxes already placed.
In OBS, that's Scene Collection → Import, point it at the collection file, then reload. Suddenly your scene list is populated and you're just swapping in your own webcam and game capture. This is exactly how the Creaticast Lab toolkit is delivered — you import once and the layout work is done.
Wiring your alerts
Alerts — the little pop when someone follows or supports you — live inside a browser source. Your alert service (the tool that watches for new followers) gives you a unique URL. You add a browser source in OBS, paste that URL in, set the size, and OBS renders whatever the service sends. That's why alerts are so flexible: the animation is really a tiny web page playing inside your stream.
Two settings save you grief. First, size the browser source to match the alert's design so it isn't cropped. Second, turn on "refresh browser when scene becomes active" if your alert ever gets stuck — it forces a clean reload.
The "why won't it show up" checklist
Nearly every OBS panic traces back to one of these. Run through them before you assume anything is broken:
- Wrong source order. Sources stack top-to-bottom like layers. If your game capture is above your overlay, it hides it. Drag the overlay to the top of the list.
- The eye icon is off. Each source has a visibility toggle. A single accidental click hides it. Check the eye.
- The source is on a different scene. You added it to "Gameplay" but you're looking at "Just Chatting." Sources aren't global unless you make them so.
- Game capture caught nothing. Full-screen exclusive games sometimes hand OBS a black rectangle. Switch the game to borderless-window mode, or use a display capture as a fallback.
- The alert URL is stale. If you regenerated it on the alert service, the old browser source points nowhere. Paste the fresh URL.
A quick pre-flight before you go live
Thirty seconds now saves a mortifying moment later. Fire a test alert and confirm it appears and plays sound. Speak and watch your audio meter move (and check it isn't clipping into the red). Click through all four scenes to confirm each looks right. Glance at your CPU usage — if it's pinned, drop your output resolution or encoder preset a notch.
You've got this
OBS rewards a little patience. Learn scenes and sources, import a collection so you're not building from a blank canvas, keep your alerts to one clean style, and run the checklist. Do that and the software fades into the background — which is exactly where you want it while you're on air. When you're ready to skip the layout-building entirely, our toolkit hands you the whole collection, pre-arranged.
Next up: Your First Weekend as a Streamer: A Step-by-Step Setup Guide →
← Back to home